Enterprise Node
To start deploying nodes, there are some required steps for you to go through:
LogIn --> Go to the Marketplace --> Make Basic Configuration for the Node --> Make payment --> Deploy Node
- Sign In: first things first, the road to using Premium starts with signing in into your account (so we can provide you with the rivate endpoints and now which account to charge under the Pricing for the requests you make)
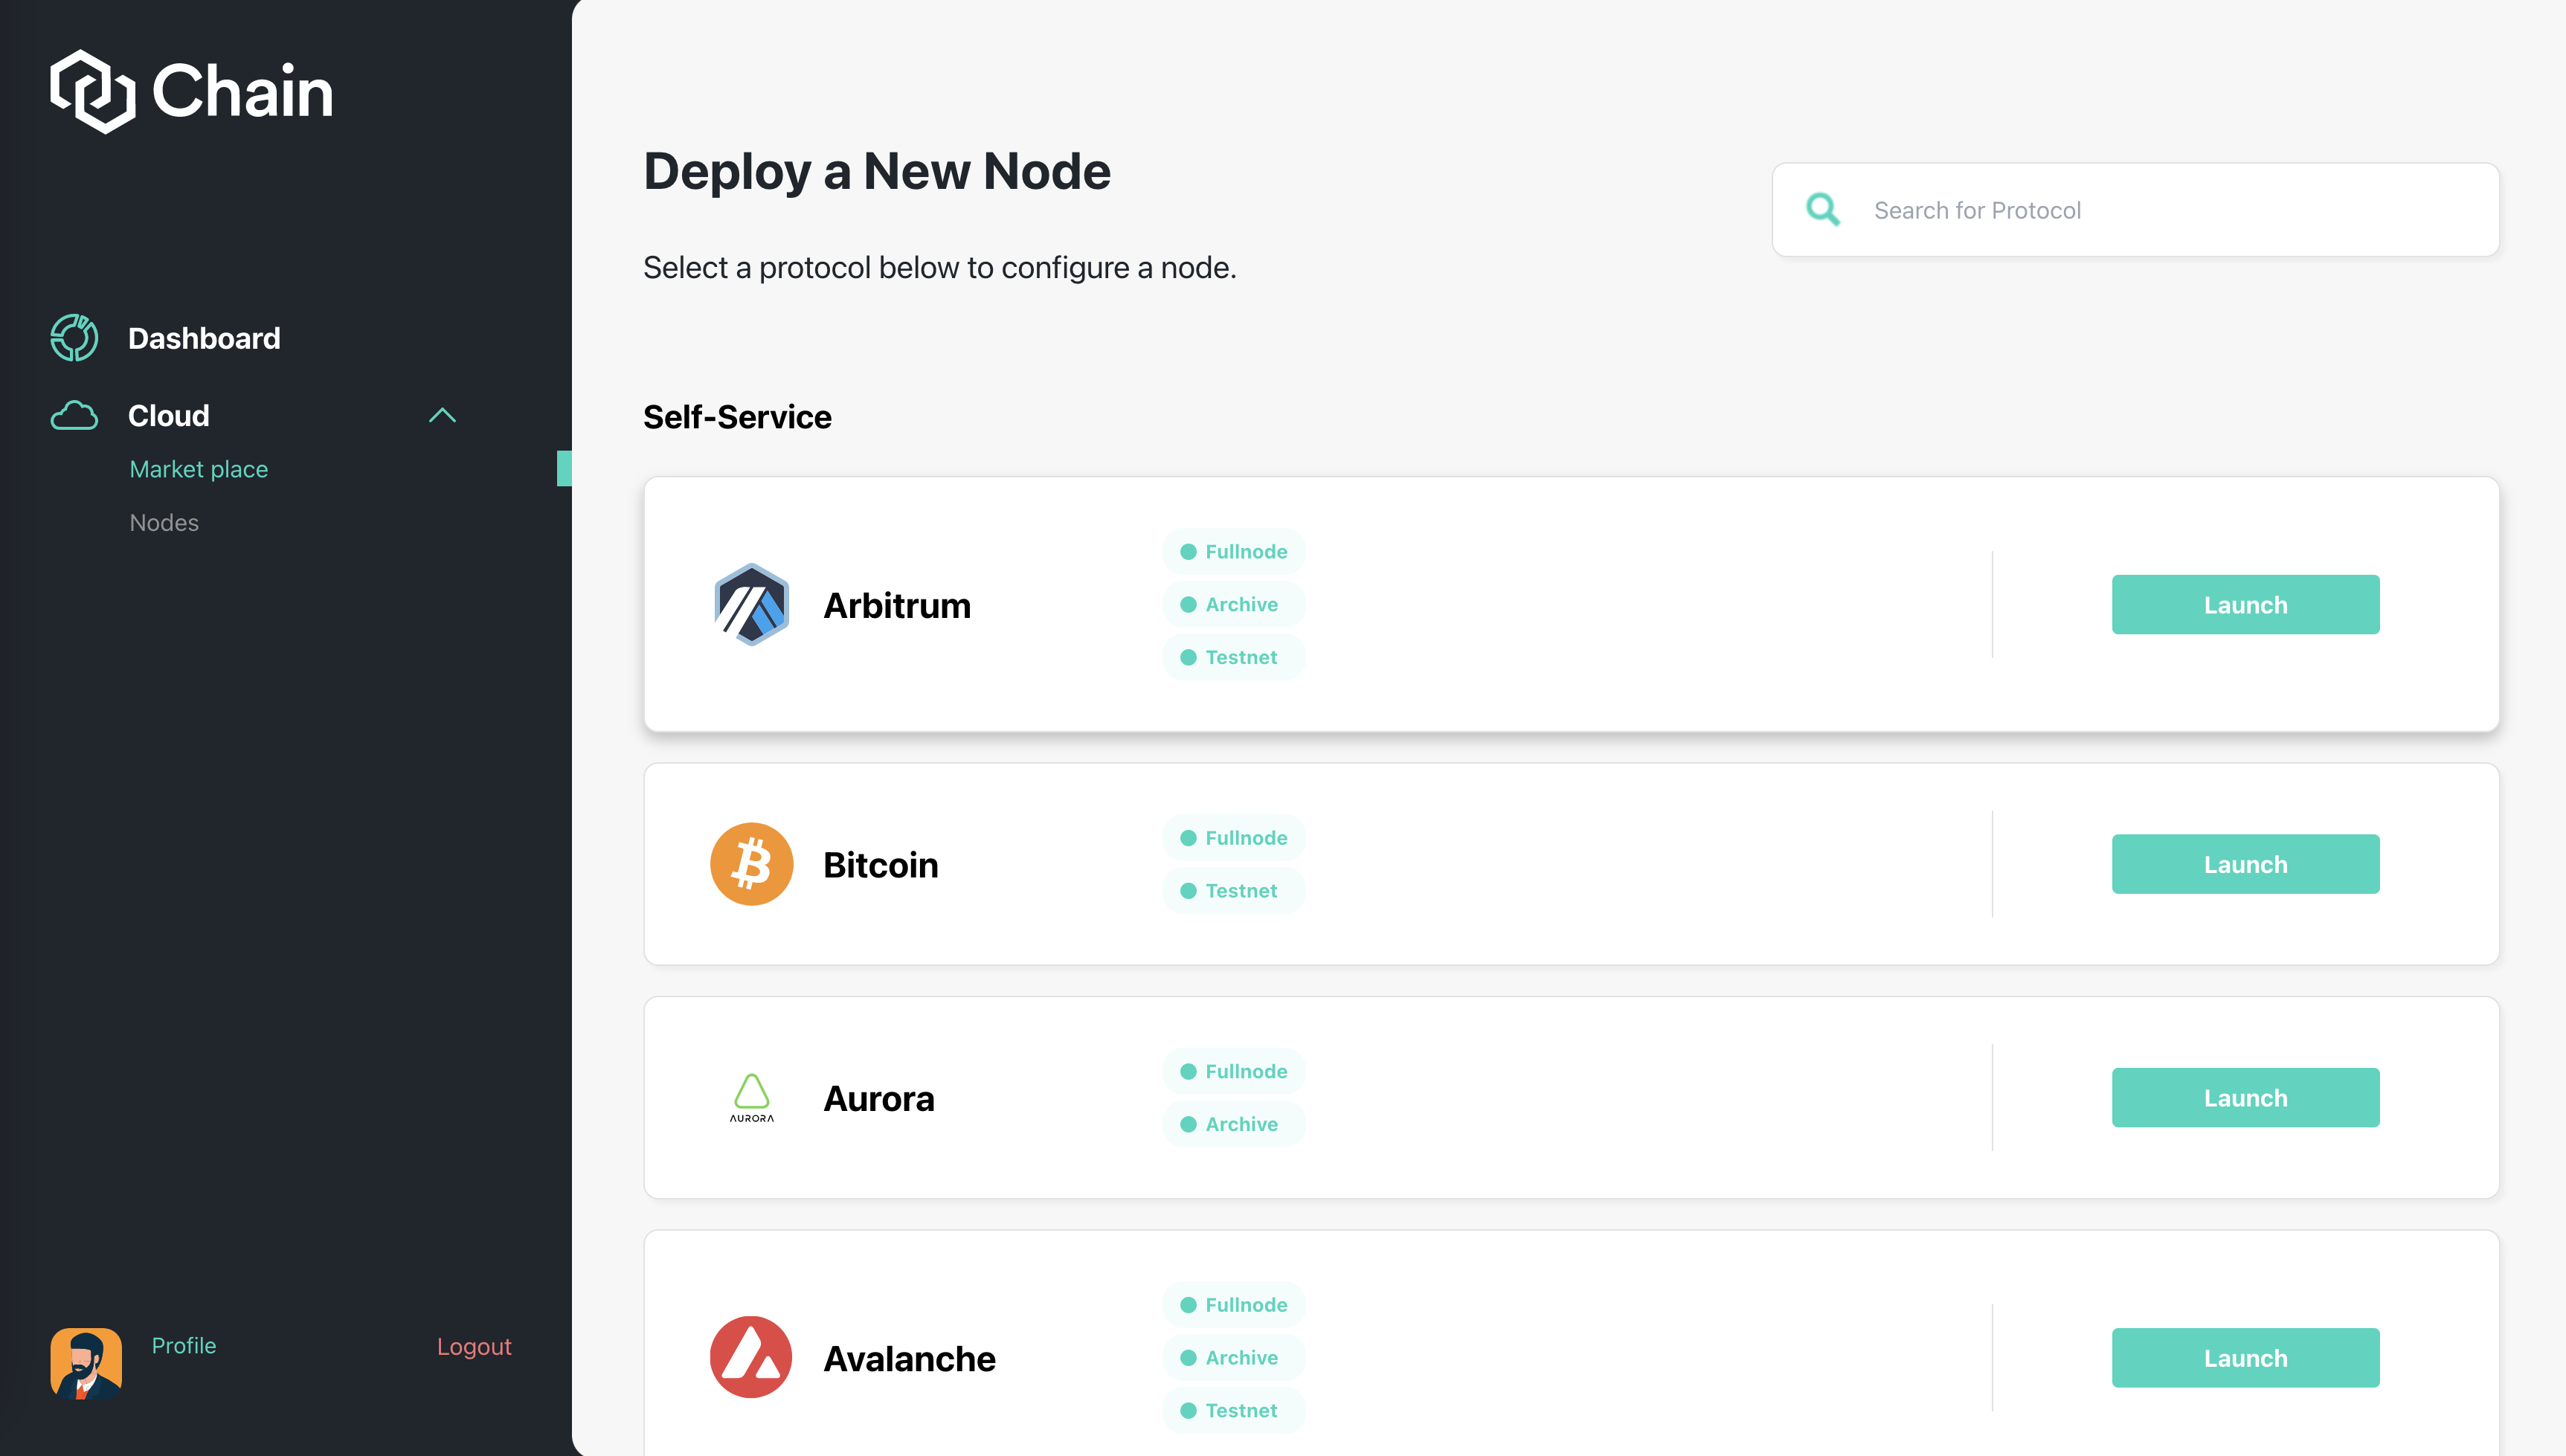
- Go to Marketplace: As you added the email, you are now eligible to deploy node. You will have to choose which chains you will deploy the node.
- Make Basic Configuration: You will have to choose which node plan is suited for you. There is a node plan:
- Enterprise Node: This is the plan for enterprise. You can use this node privately.
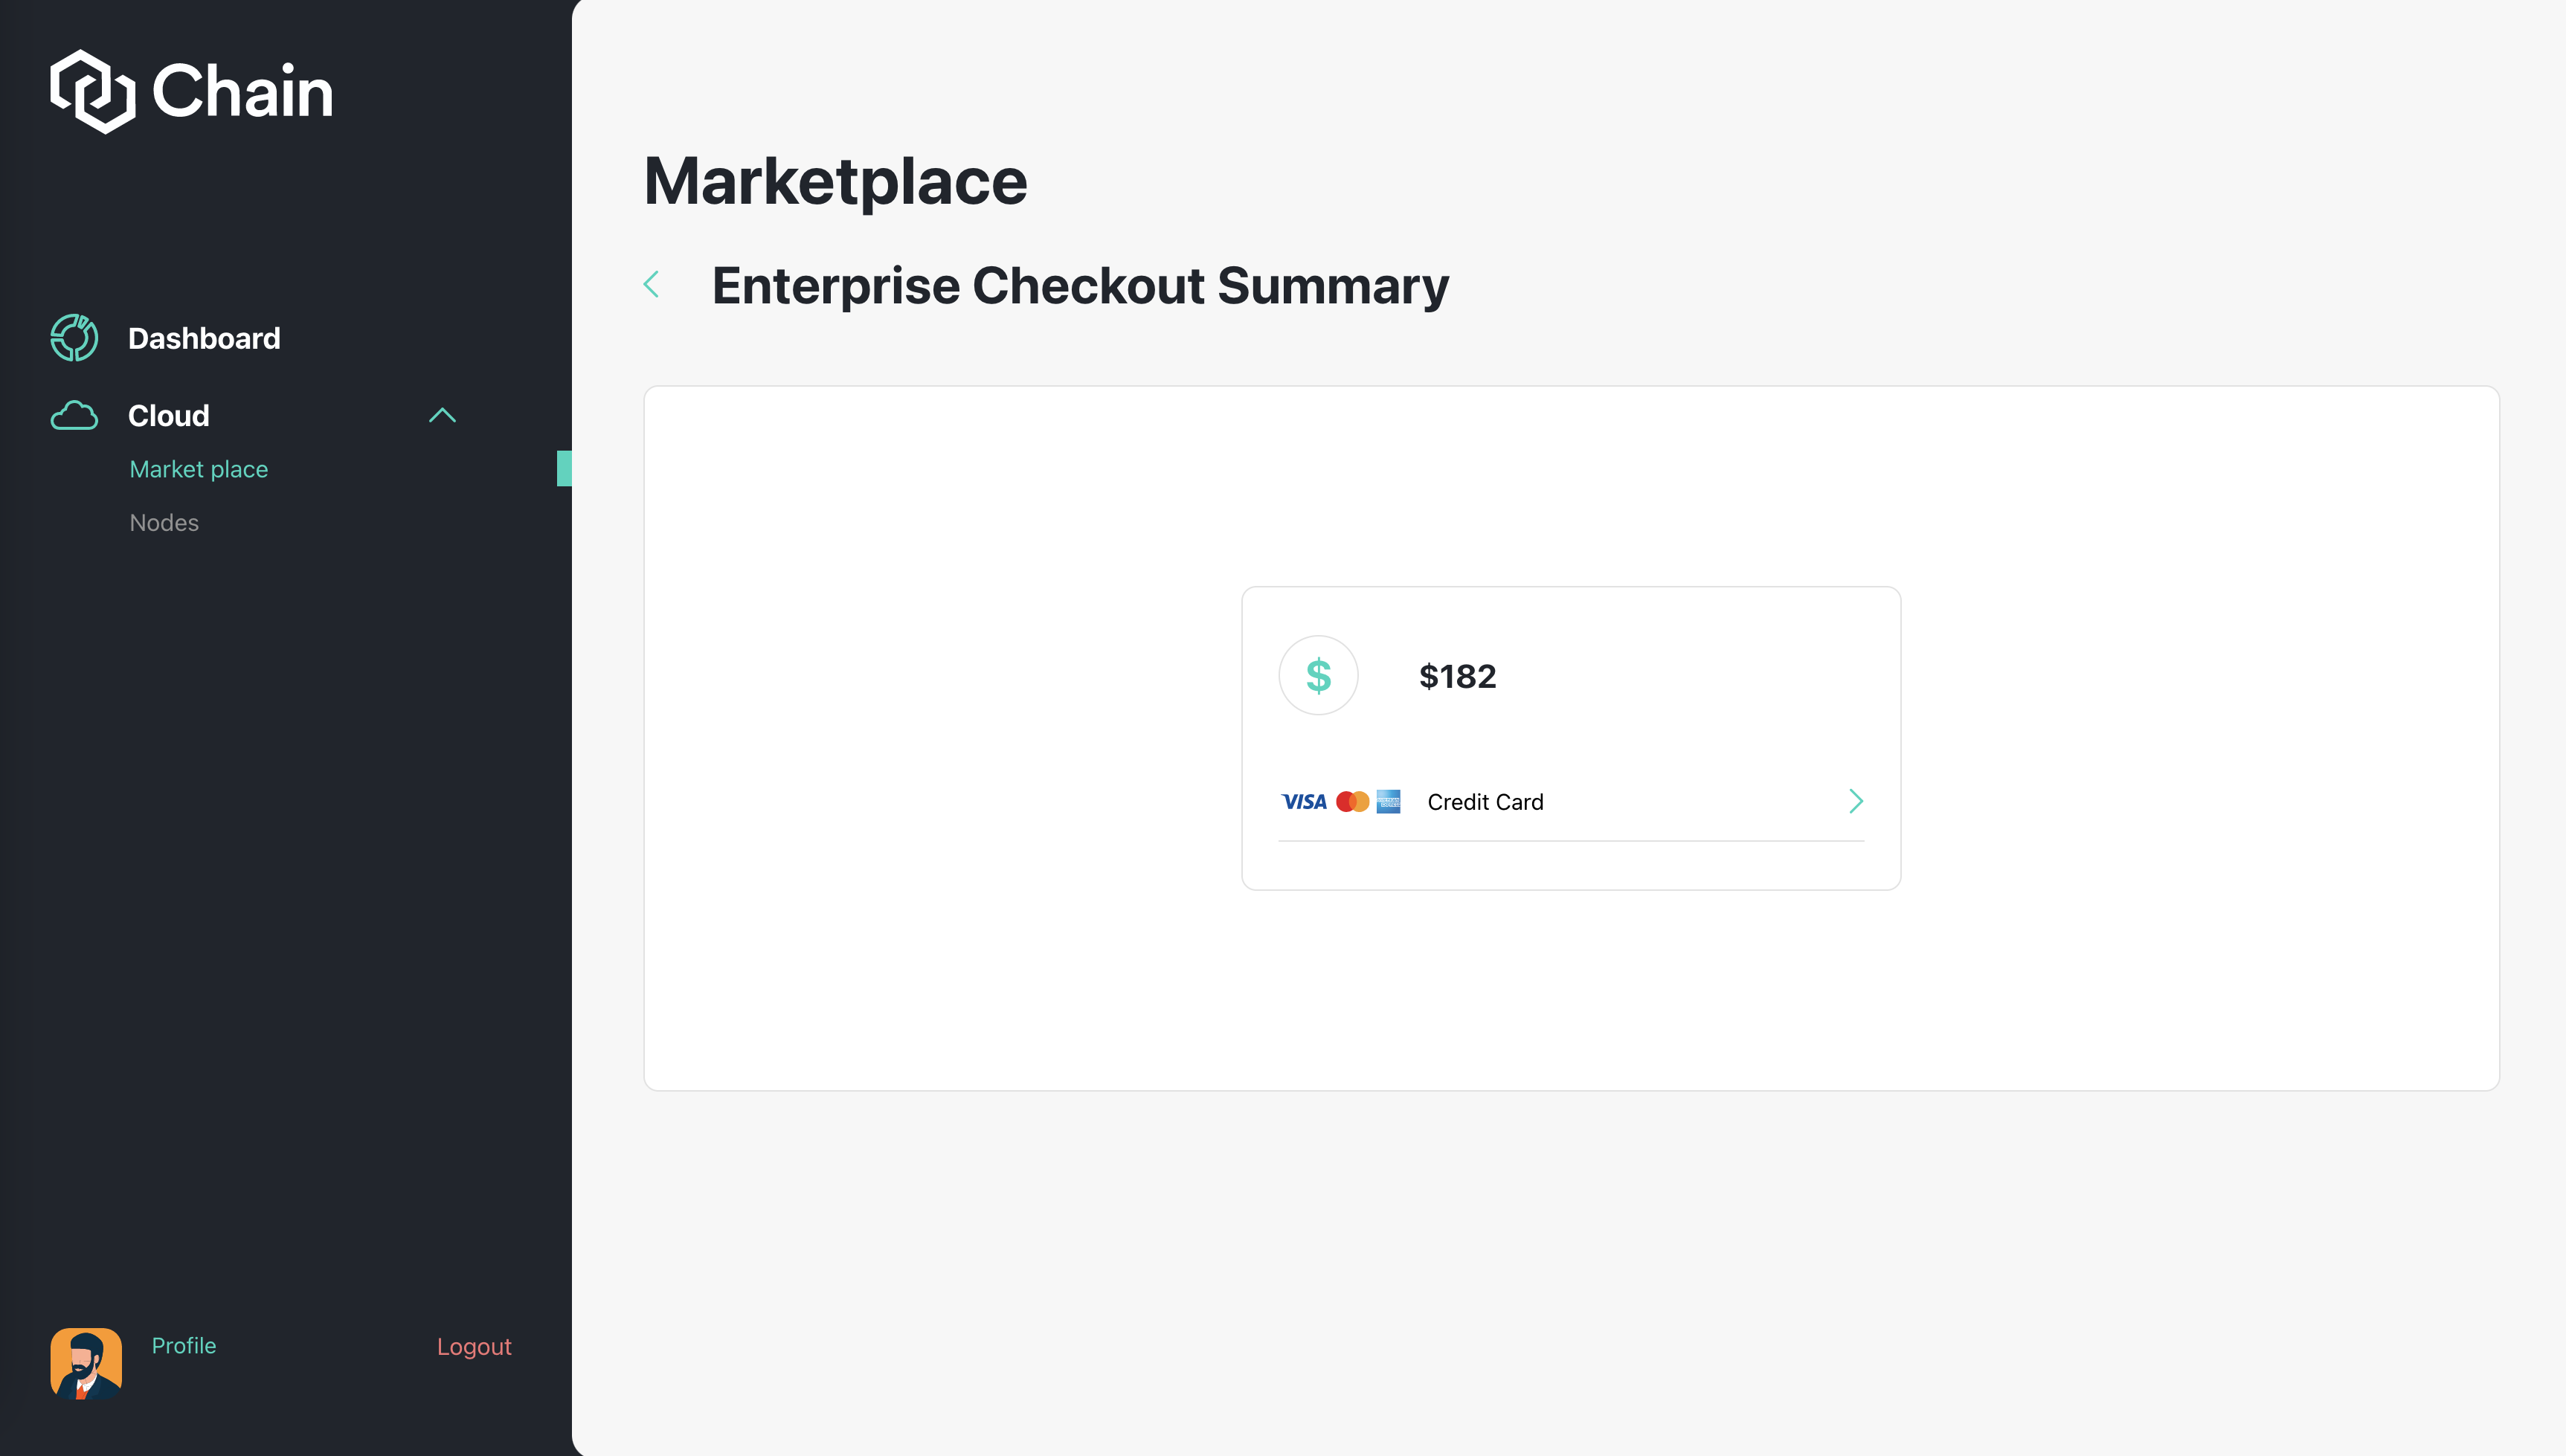
- Make Payment: You will make payment for the node when you deploy it and each 30 days. You can use Card payment or Crypto payment.
- Deploy Node: After you finished paying --> The node will be automatically deployed. However there will be sometimes for the node to sync.
Sign In
You can signup with your email and confirm via email and then signin to your account.
Go to marketplace
On the left menu, under Cloud category, user click "Marketplace" to start choosing which chain you want to deploy the node to.
Make Basic Configuration
After you choose which chain you want to deploy the node to, you will have to choose which plan is suitable for you. There are 2 types of node:
- Enterprise Node: This is the plan for enterprise. You can use this node privately.
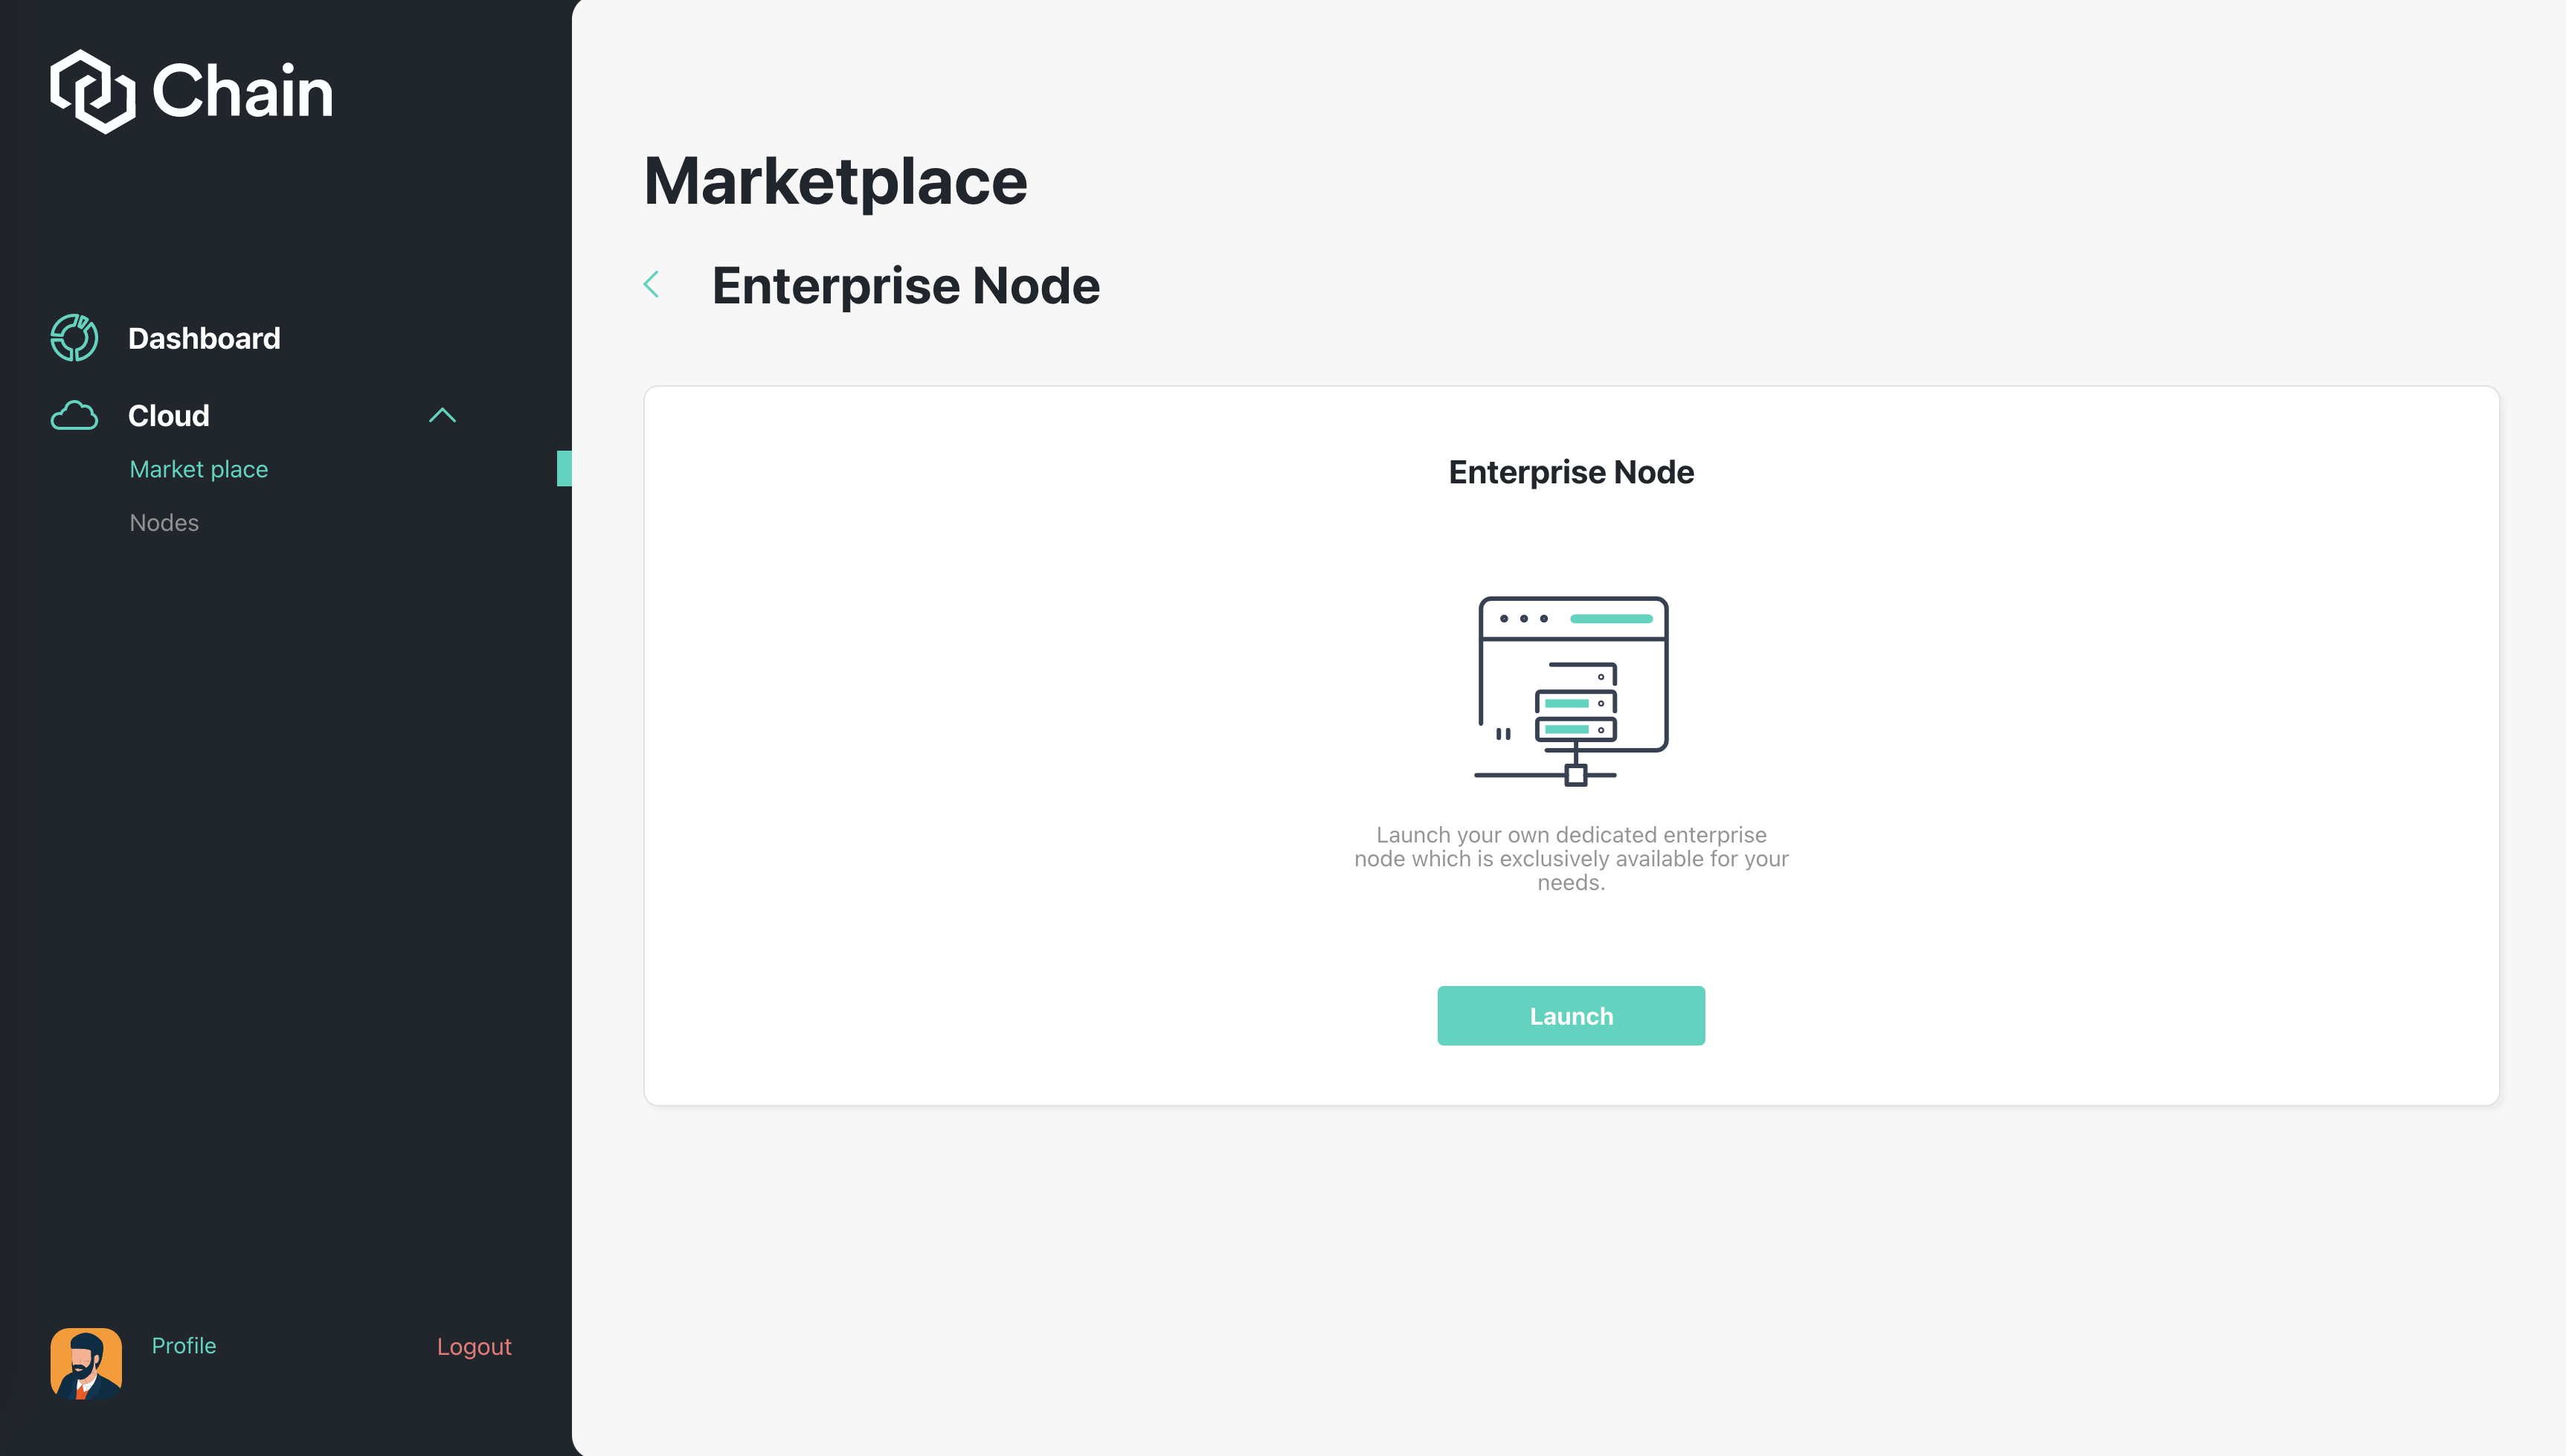
As a Enterprise node user, you will have to choose a subdomain for the node. You can connect to this node by websocket or a normal API address. You will have access to this node privately.
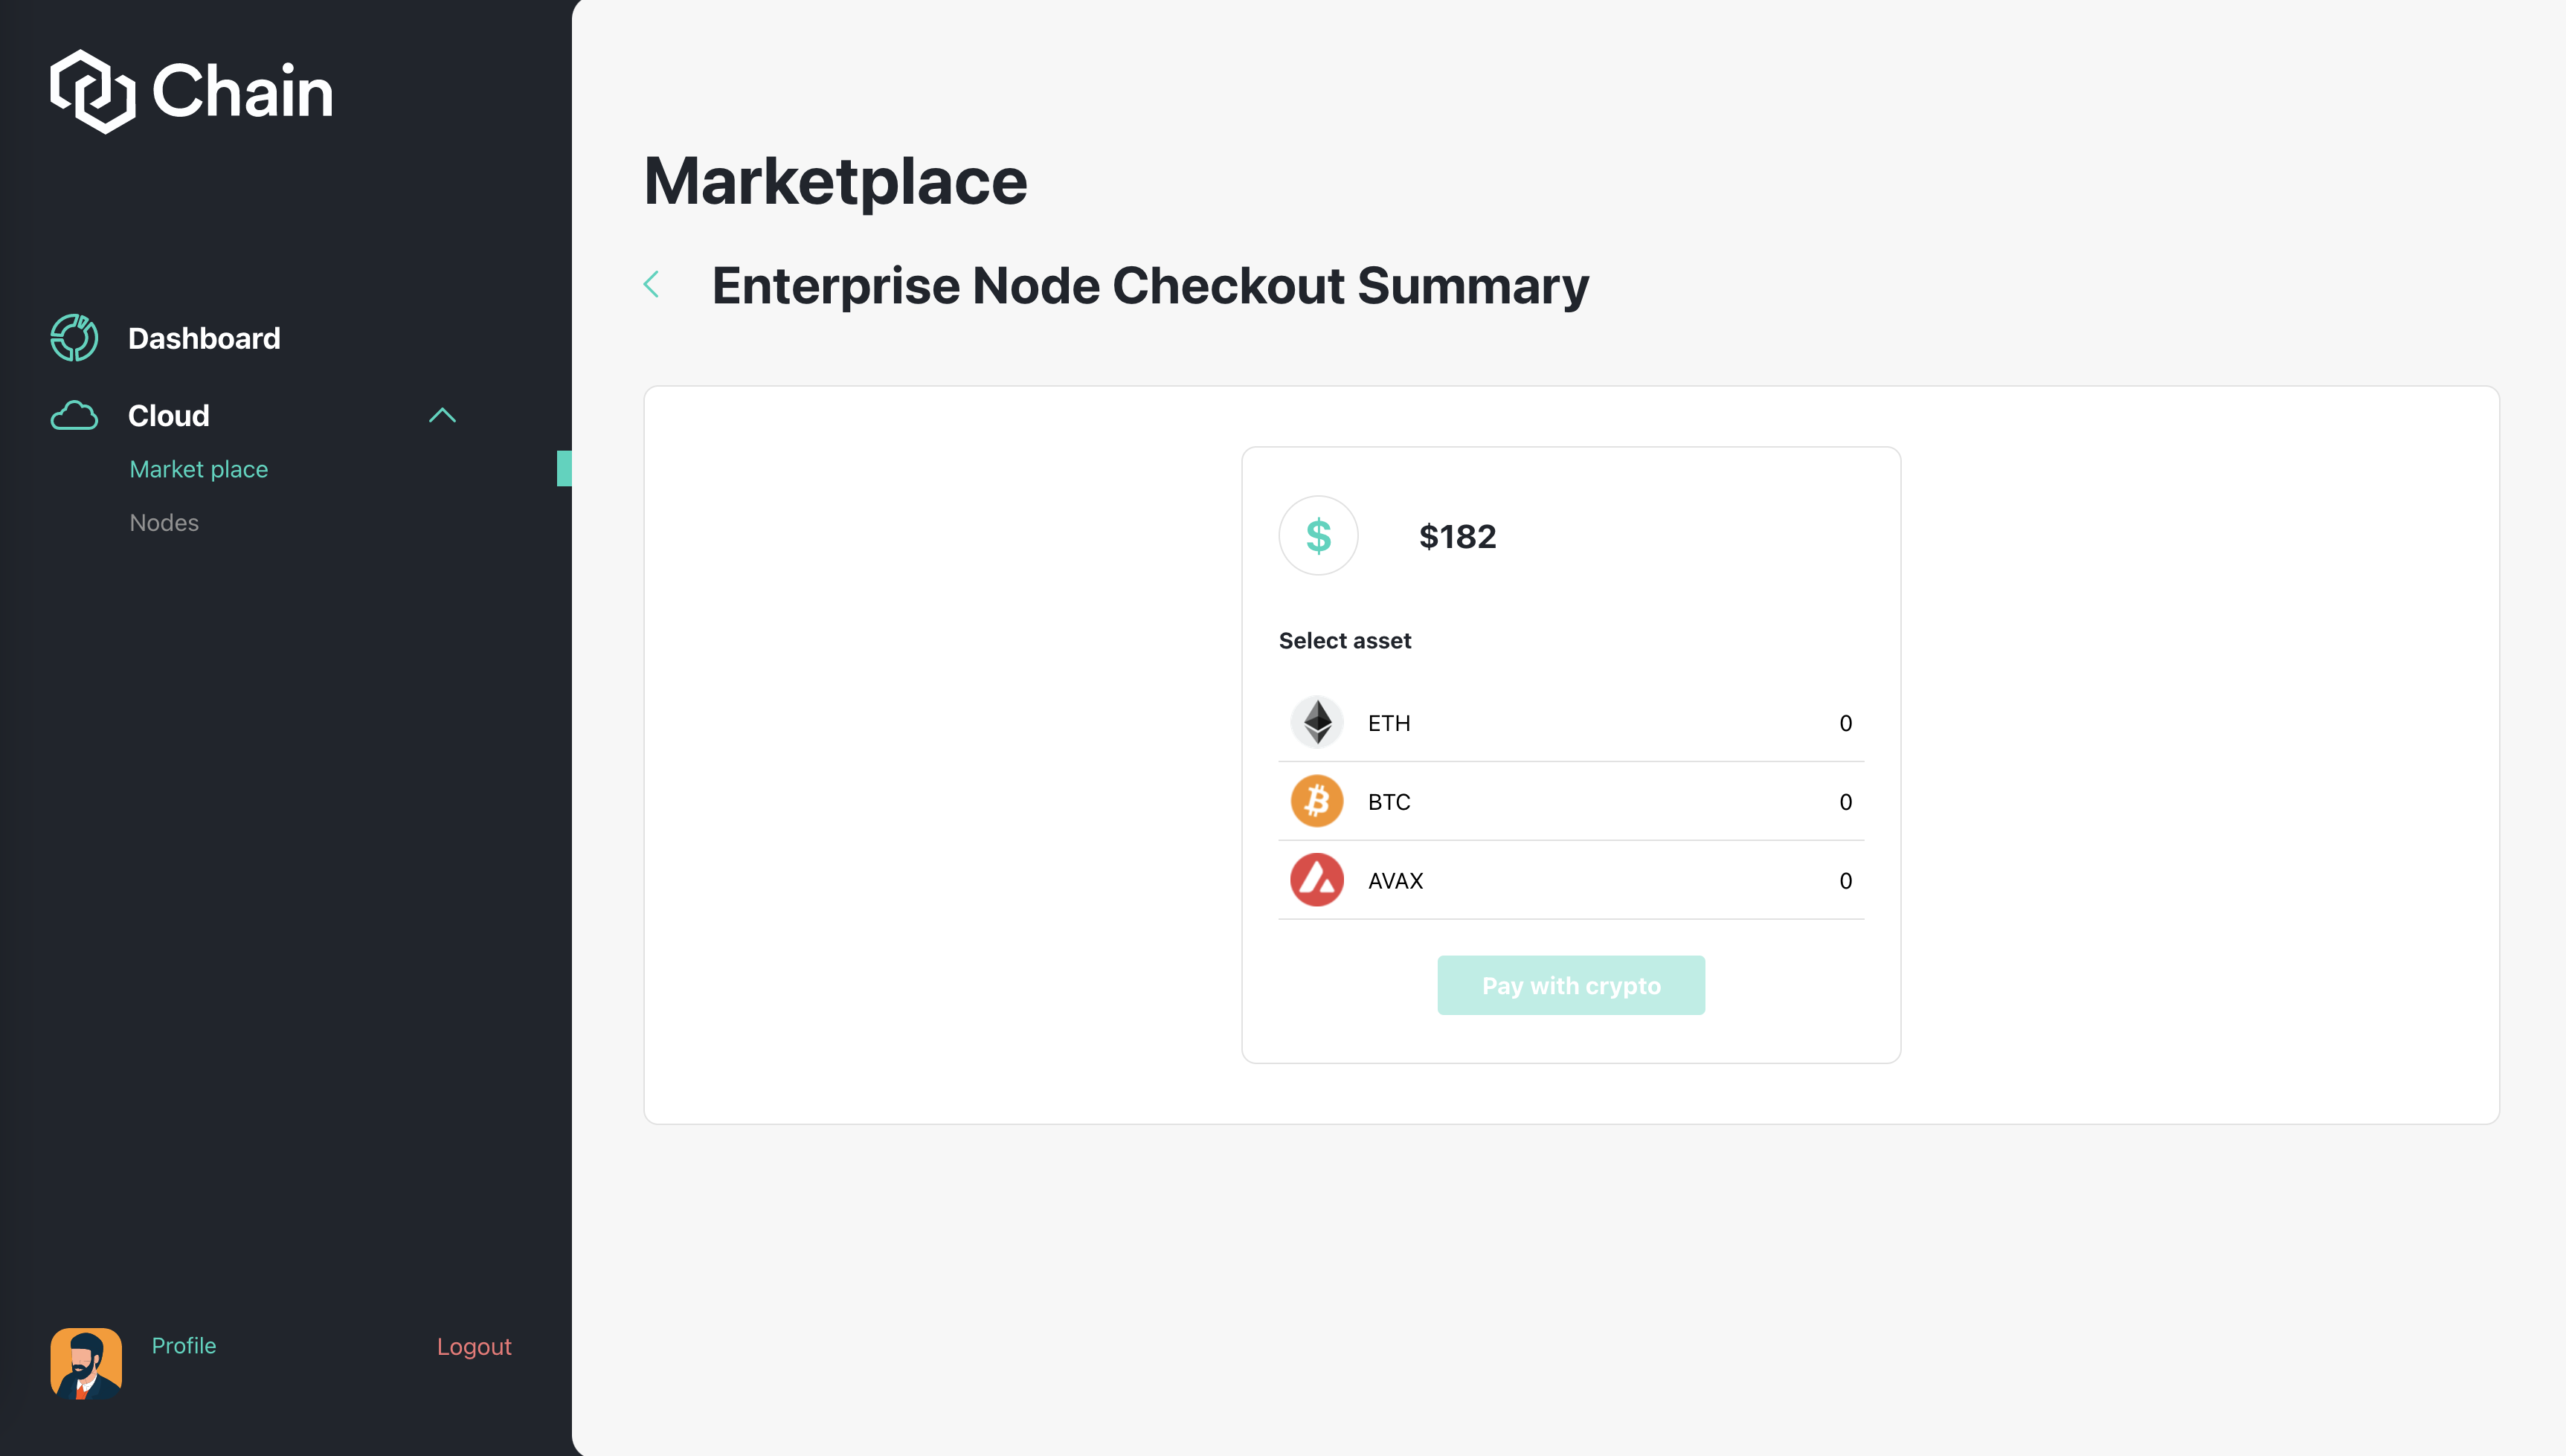
Make Payment
You can pay using Card or Crypto.
Deploy Node
After you have finished payment, the node will need time to finish synching. This process will be automatic and work as following:
- Start backend process
- Show pending screen for the user and to visit back in 24 hours.
- Once backend CRON is done and deployed. Change user status for this nodeUID to success and update user front end status
If there is some error during the deployment, please contact admin for support.
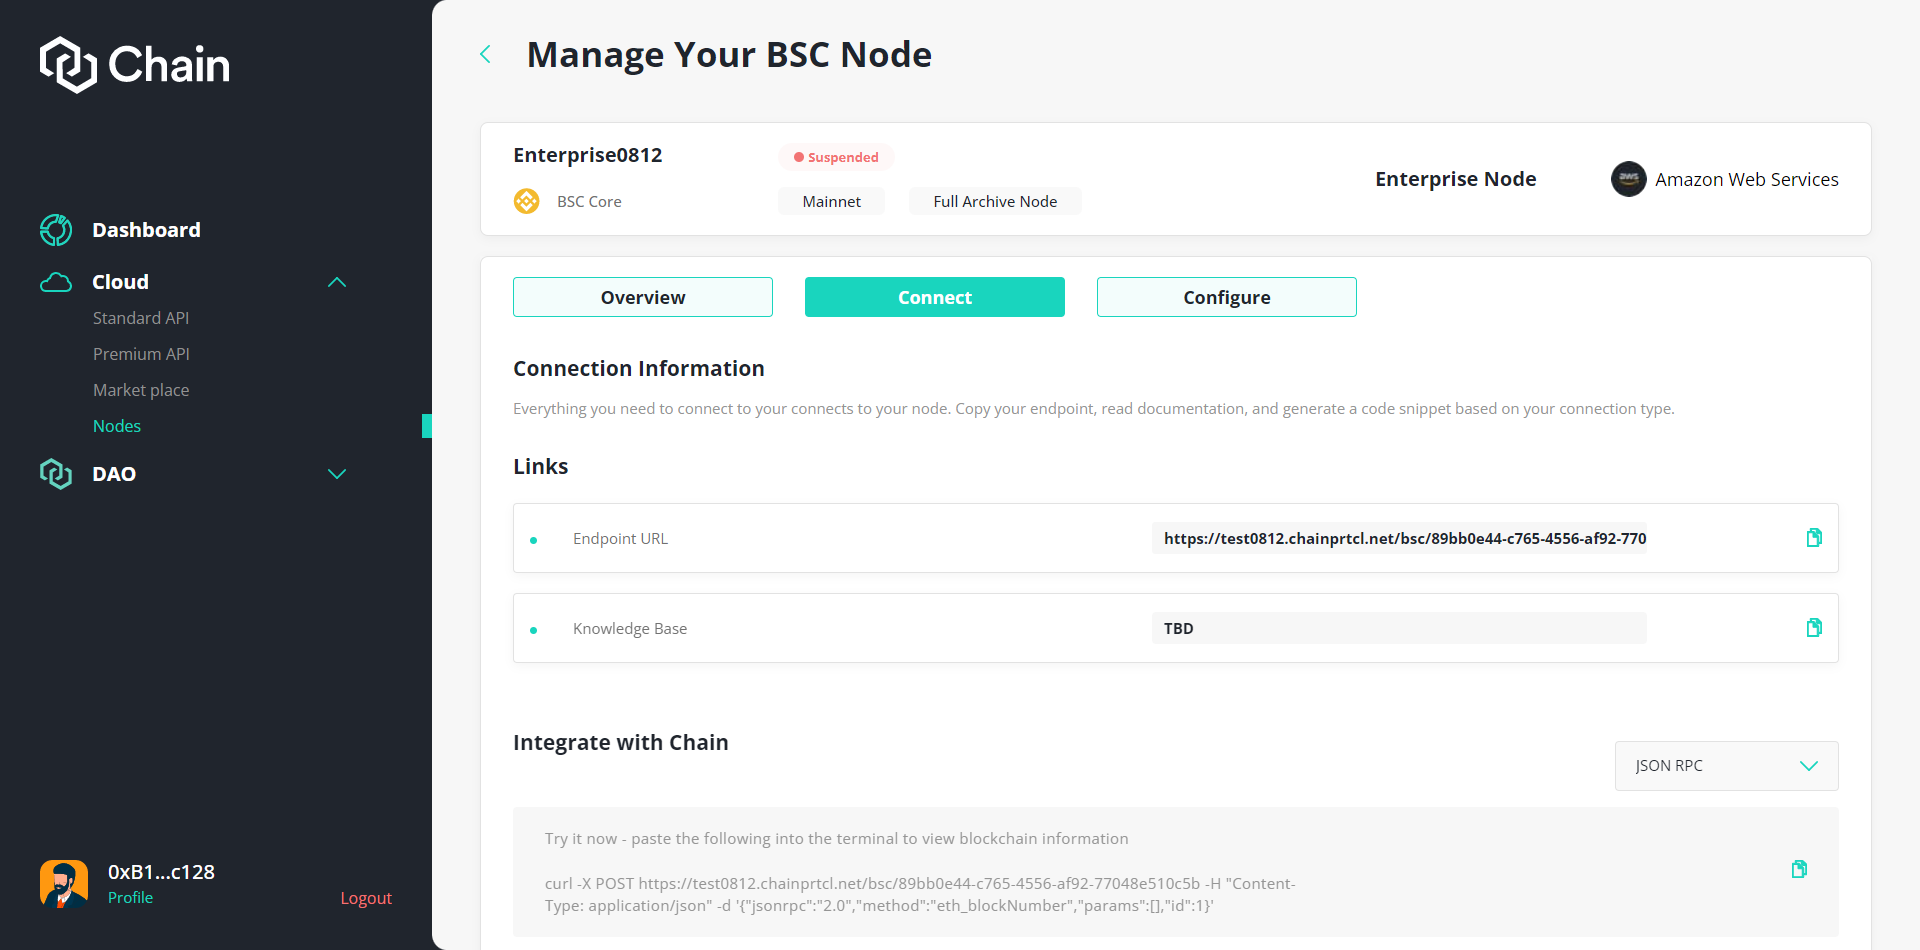
Acquire Endpoint URL
After the node is deployed successfully, the user can use the custom endpoint URL for the enterprise node by going to the node detail page.
Under the Connect tab, the user can use the Endpoint URL under Links section (image below)
Renew Node
Under the Configure tab, the user can renew the node by clicking Renew. This will move the user to the page to choose which way of payment the user want to use (image below).
The node will be automatically terminated if the user is late to renew the node for 7 days.
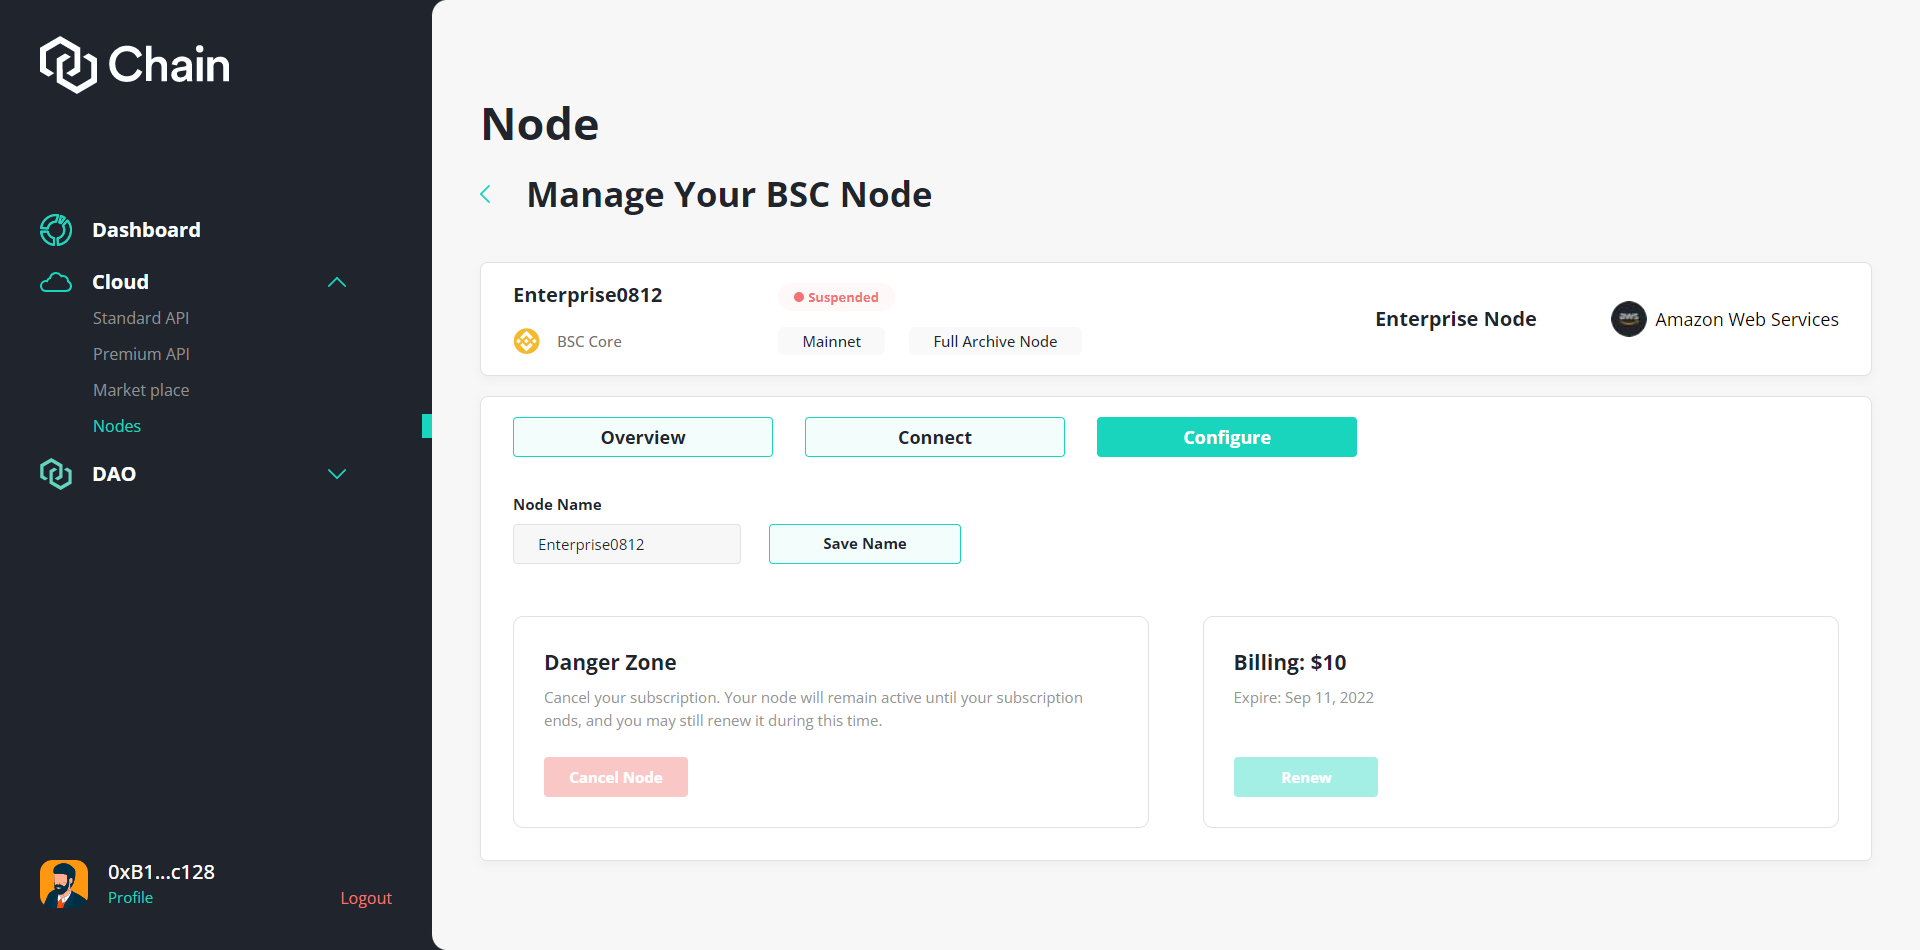
Cancel Node
At the same Configure tab, the user can cancel their own node by clicking "Cancel Node". The node will be terminated after the node expired time.
This step can not be reverted so please make sure if you want to cancel the node.